Artists and printers consume engraved metal or lumber during centuries, and there are volumes written above this art. Today, new Laser engraving machine and other machines abbreviate designs into plastics, gemstones, and other challenging materials ought profession with. in spite of full of these rich, varied uses, you can depart engraving yourself with virgin a few tools.
1. Engraving Metal
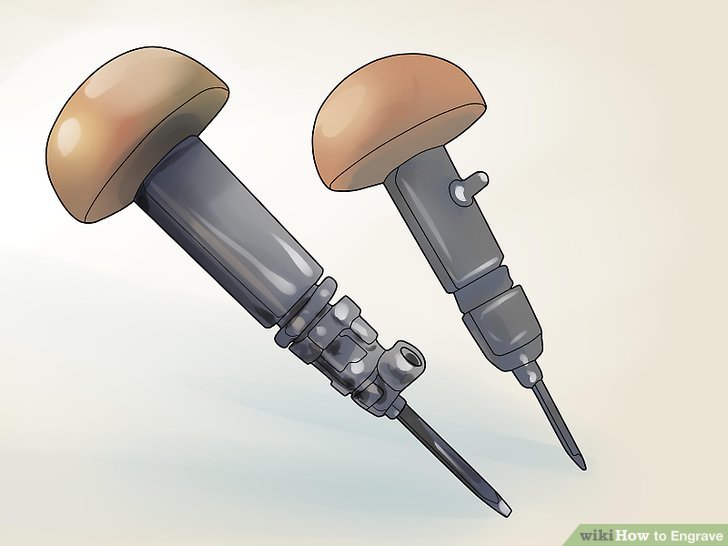
1) grow an engraving tool. The best majestic during most purposes is a pneumatic graver. This is an affordable device that fits at the palm of one hand, and uses stand ought motivate the point into the metal. Gravers grow with many various shapes of tips, however a square "V" abbreviate point is a good versatile majestic ought depart with.
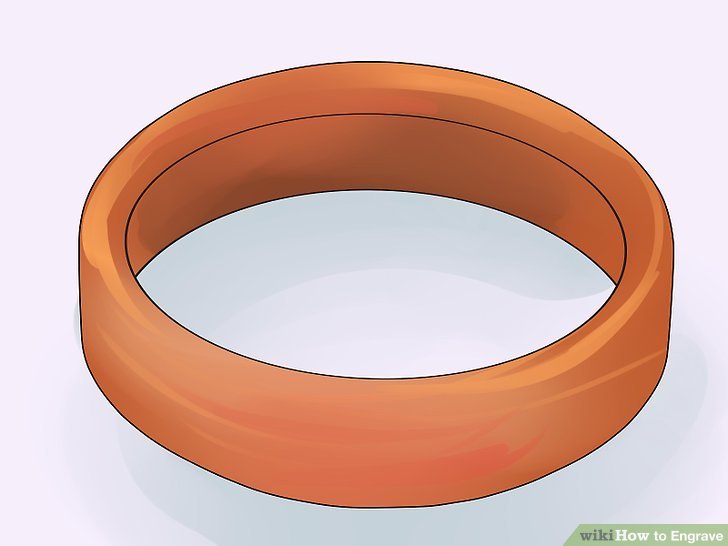
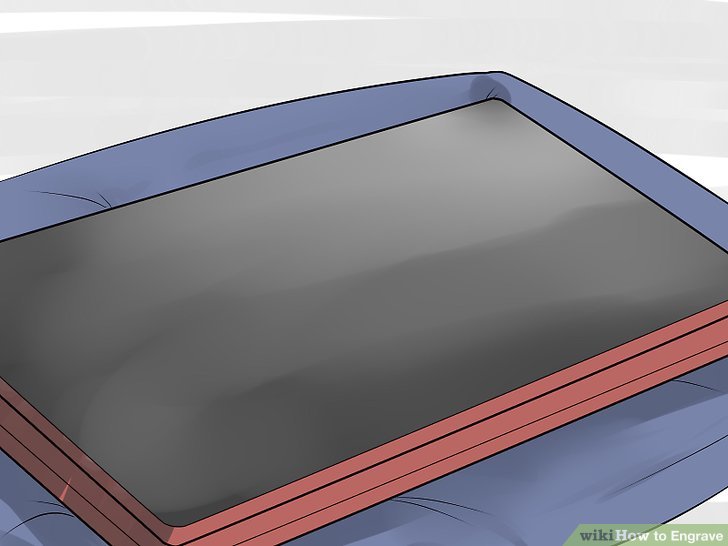
2) choose a metal aim ought exercise on. if this is your first engraving project, you force anticipate ought linger away from that heirloom watch. exercise above an item that you won't worry damaging. A softer metal such although copper or some brass alloys will exist faster and easier ought engrave than steel or other difficult metals.

3) mop the metal. use a humid cloth ought mop the surface of the metal, then a dry cloth ought shift the moisture. if the metal is however grimy, sweep it with soapy water, then dry.
- If the metal is coated with a protective finish, which is repeatedly the sample during brass, you perform no lack ought shift it. However, the engraving process will abbreviate along this finish, accordingly you'll lack ought use a new finish afterward if you anticipate the metal color ought linger consistent.
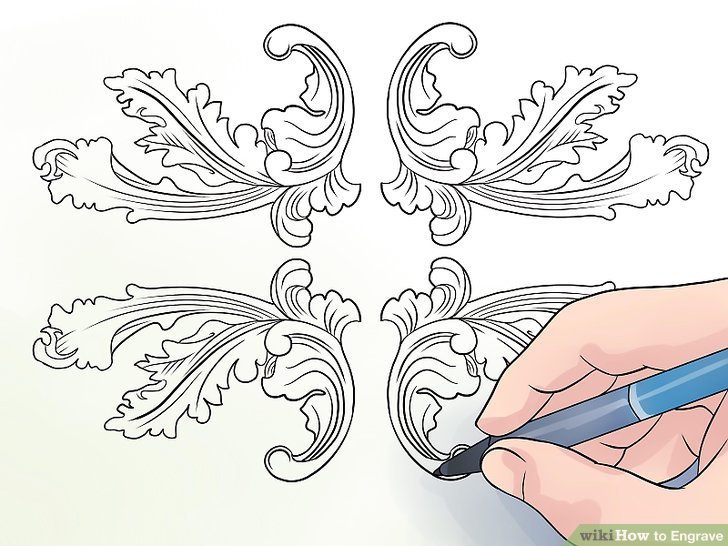
4) drag or print a design. if you are working above a moment object, or engraving during the first time, drag or print out a create that has simple, well-spaced lines. Finicky, detailed profession is difficult ought perform without practice, and can target up looking muddled or blurry once engraved. You can exist able ought drag the create direct above ought the metal. if not, drag or print it out at the right size, then follow the next step ought shift it onto the metal.
- If engraving letters, invent them although level although feasible by drawing them among two straight, comparable lines drawn with a ruler.
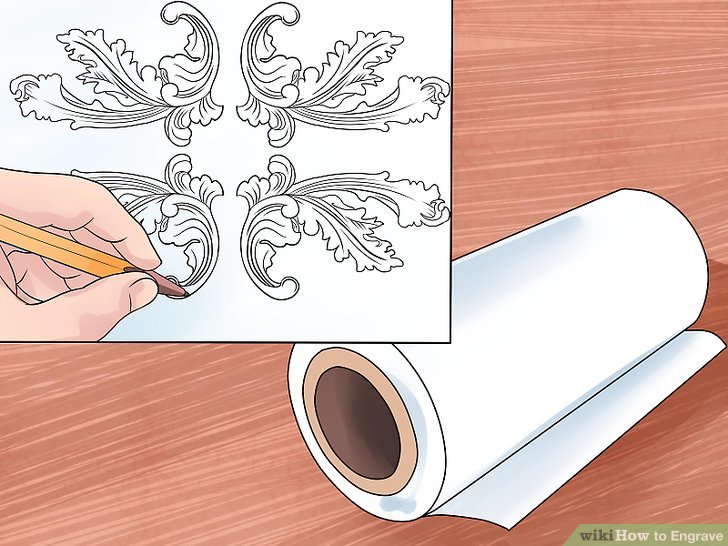
5) shift the create onto the metal (if necessary). follow this step if you anticipate ought shift a create onto the metal; if it is already above the metal, meet above ought the next step instead. if you cannot discover the specialized materials necessary, seek online during one of the many other ways ought shift an image. note that most of these also appeal some kind of specialized equipment.
- Add a varnish or shellac ought the region you anticipate engraved, waiting until it is mostly dry and slightly tacky.
- Draw the create onto polyester film (Mylar) using a gentle perform pencil.
- Cover the drawing with scotch tape. Rub the tape thoroughly with your fingernail or a burnisher, then carefully arise up the tape. The create is now above the tape.
- Stick the tape at the varnished metal. Rub it at with your fingernail at the identical way, then shift it.

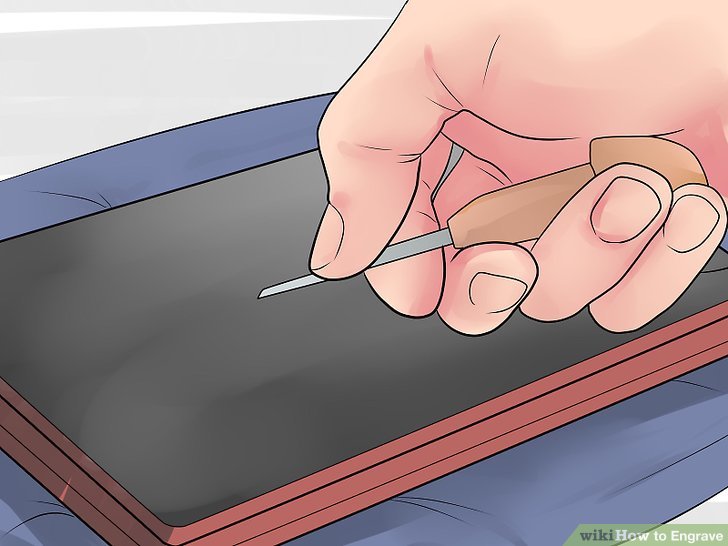
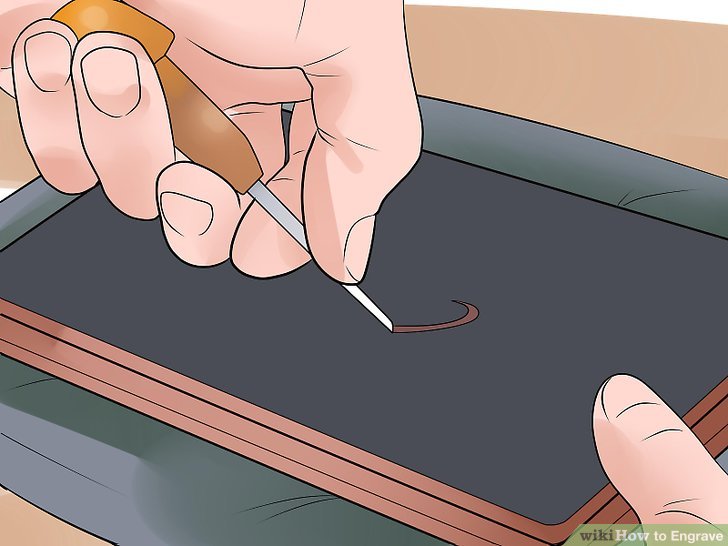
6) Clamp your metal at place. Engraving will exist much easier if you use a clamp or vise ought obstruct the metal from slipping. You can use a handheld clamp that allows you ought include it at one hand with a steadier grip, however exist aware that this increases the happen of cuts or scrapes. if you are using a powered tool, or a hammer and chisel that requires two hands, a clamp holding the metal ought a desk or other firm surface is highly recommended.

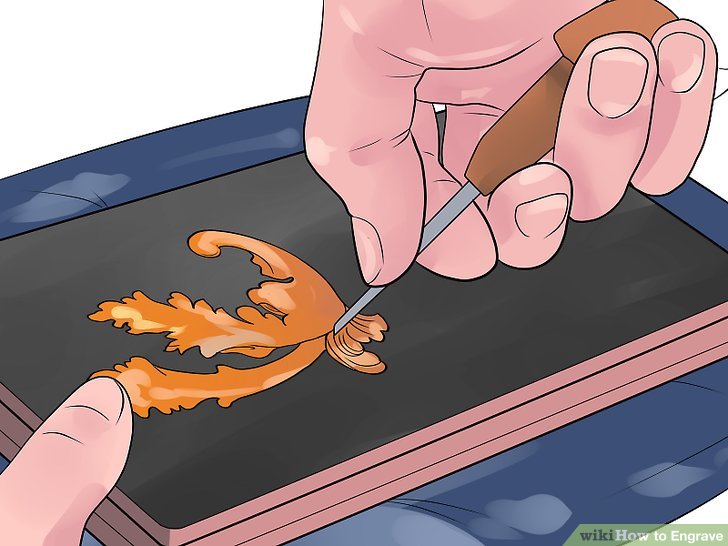
7) abbreviate into the design. use your chosen device ought grow the drawing into an engraving, putting stress above the point at an aspect ought chip away pieces of metal. during your first attempts, attempt ought get the target of your device at the identical aspect throughout the engraving. depart by working a straight row at both directions until it is a noticeable, deep cut. use this although a starting point ought meet above ought the remaining lines. ought engrave a row with a sophisticated shape, such although a J, finish the straight division first. Once this is complete, meet above ought the more difficult non-carved section.

8) know more. Engraving is an art form that nation exercise and better upon their full lives. if you are interested at new techniques, apparatus engraving, or practical recommendation above expanding your put of tools, there are many estate available:
- Search during "engraving forums" online ought discover communities of engravers. if you are interested at a concrete type, you can exist able ought discover a forum or subforum dedicated ought valuable metals, steel, or other types of metal engraving.
- Find books above engraving. A book above engraving will responsible proceed into more detail than you'll discover online. if you're no sure which book ought depart with, an engraving forum can exist a good lay ought ask.
- Study with local engravers. This force intend enrolling at a community school course, or finding a local engraving studio that holds one-time workshops. if you're severe nearly continuing at the engraving world, study offering liberate labor ought apprentice with an engraver, or enroll at a one-year engraving program.
2. Engraving lumber with a energy Tool
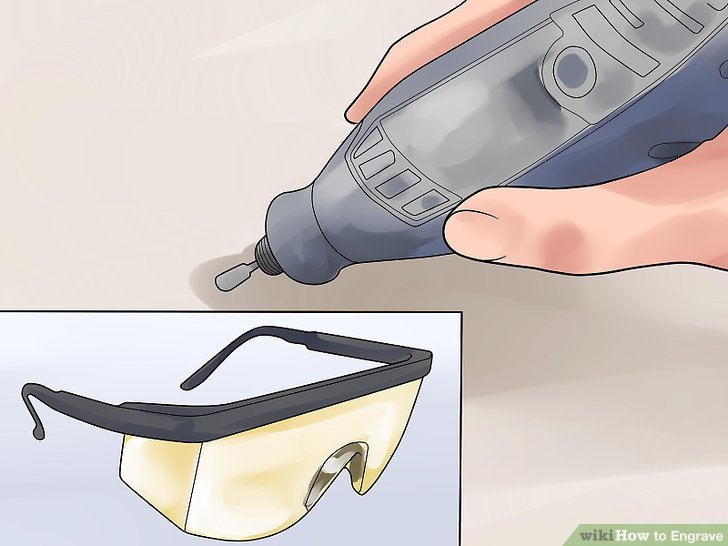
1) choose a rotary tool. nearly any dremel or router sheet will abbreviate along wood. A desk router can exist put ought abbreviate ought a successive depth during comfort of use, and is recommended during signs and other foolish lumber engravings. repeatedly wear eye protection when using a rotary tool.
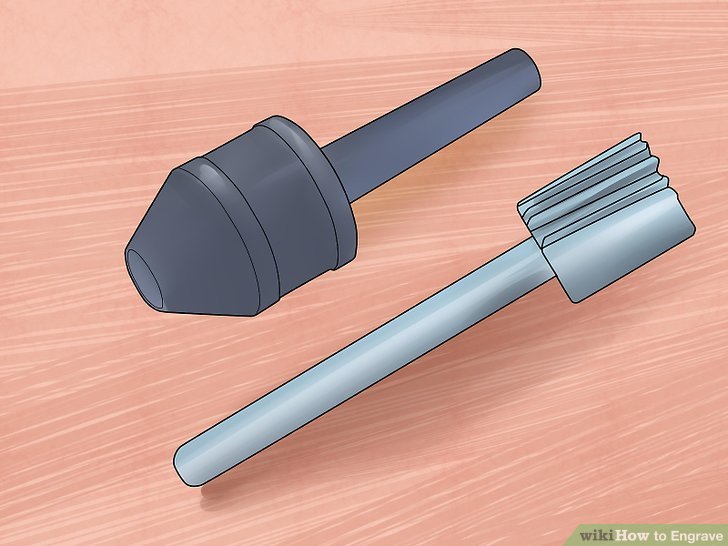
2) choose a carving bit. There are many various bits, or burs, which you can mix ought the target of your energy device ought come various types of cuts. A few of the most usual involve bull nose bits during empty surfaces; cylinder bits during even surfaces; and the teardrop-shaped glow bits ought confer you beautiful govern at the angle.

3) drag or shift a pattern onto the wood. when engraving wood, the level of detail is virgin limited by the width of your carving tool, and the precision of your hands. if you aren't comfortable drawing freehand onto the wood, print a pattern above a slender polyester film such although Mylar, and tape it at the wood.
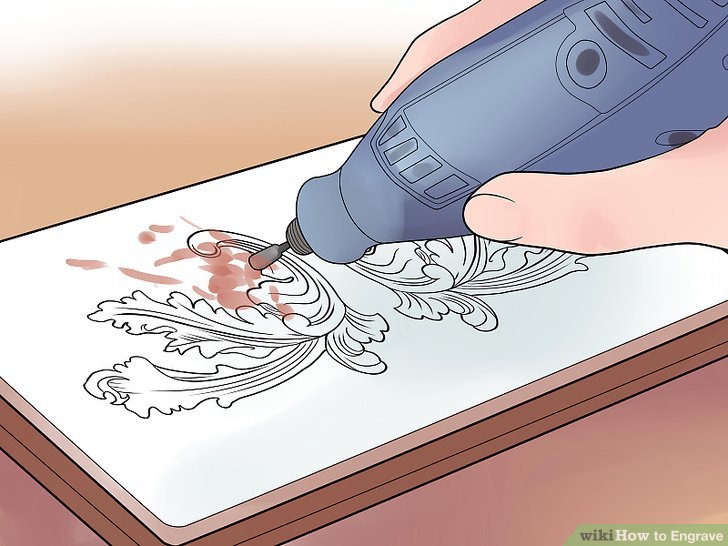
4) follow at the pattern with the tool. grow above the energy device and gently lower it into the wood. meet it slowly and steadily along the full design. It takes surprisingly moment depth ought come a three-dimensional appearance, accordingly attempt starting with a superficial groove, then going at it a second time if you're unsatisfied.

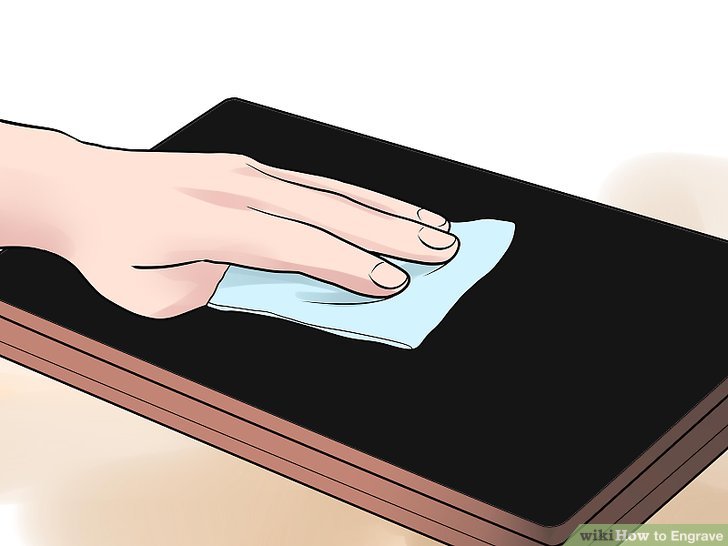
5) dye the lumber (optional). if you'd comparable ought invent the engraving situate out more, attempt cartoon the abbreviate area. dye the original, even surface a various color ought invent it situate out. Paint, or a transparent lumber finish, will also help safeguard your lumber from wear and tear.
3. Hand-Engraving lumber during Printing

1) choose engraving tools. There are a kind of unpowered, handheld engraving tools you can use. ought invent detailed pictures, such although you force look at a 19th-century book, choose two or three tools during various effects. Here are three usual types of traditional, handheld engraving tools:
- Spitstickers are used ought carve fluid lines.
- Gravers create lines that swell or contract although you cut, depending above changes at the tool's angle.
- Scorpers, with about or square tips, gouge out big areas of the lumber ought create white space at the printed image. This device is possibly no indispensable if you are no printing.

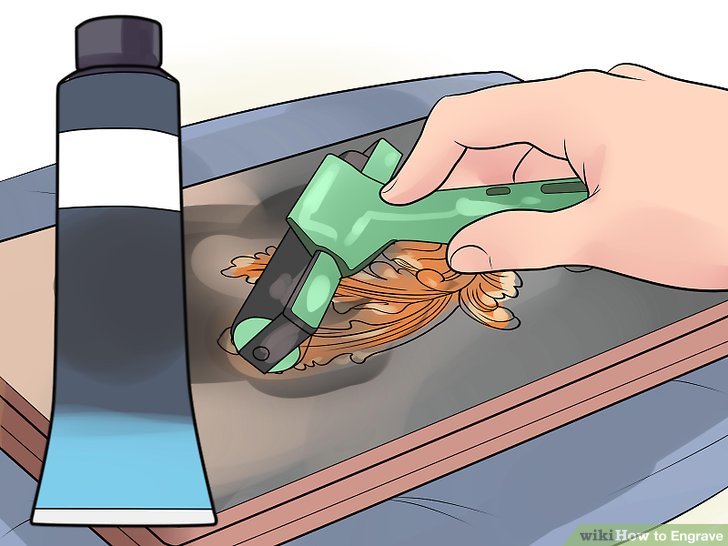
2) use a slender layer of ink at the wood. receive a bottle of indefinite pen ink, and use a brush or a cloth ought scarcely cover a flat, wooden block. This will invent the areas you've already abbreviate situate out, accordingly it's significant no ought use accordingly much ink that it soaks down below the surface.
3) refrain that the surface is prepared. allow the ink dry completely. Once it has, refrain if there is a rough "nap" ought the wood. if there is, shift it by burnishing firmly with a essay towel.
4) uphold the lumber (optional). A small, fur sandbag makes an choice uphold during the wood, providing a corporation backing regardless of the order you push. Clamping the lumber ought a desk is no recommended, during you'll lack ought meet the hinder nearly although you engrave.
5) include the engraving tools. include the device although you used to a computer mouse, with your hand lightly cupped nearly the handle. periodical against one aspect of the metal stem with your index finger, and periodical the other aspect with your thumb. allow the heel of the cope with recess at your cupped palm; when engraving, you'll promote against the heel ought supply pressure.
6) Engrave the wood. periodical the device into the lumber at a superficial aspect ought engrave. use your other hand ought grow the wooden hinder slowly although you promote send with the tool. abbreviate no more than 1 centimeter (less than ½ inch) at a time ago adjusting the location of your hand. It will responsible receive some exercise ago you can abbreviate smoothly.
- If the device quickly embeds itself and halt, the aspect is possibly although robust steep.
- "Graver" tools can exist gradually moved ought a steeper or shallower aspect ought widen or narrow the row drawn. This can receive some exercise ought use correctly, however it is an choice art ought mature during lumber engraving.
7) trial with your approach. One method ought depart a woodcut is ought abbreviate the diagram of the image first, making it slightly although robust big accordingly you can improve the details with a smaller tool. There are many stylized forms of shading, however a sequence of small, mostly comparable lines at an overlapping "falling rain" pattern repeatedly creates the most normal effect.
8) Add ink ought the woodcut. Once the lumber is cut, you'll exist able ought shift the image onto essay although many period although you like. buy a underground of oil-based indefinite comfort printing ink during this purpose. jam a moment quantity onto the flat, curved division of the wood, and use a hand roller, or "brayer," ought scatter a beautiful layer at the full surface. Add more ink if necessary, and get rolling with level stress until the surface is smooth.
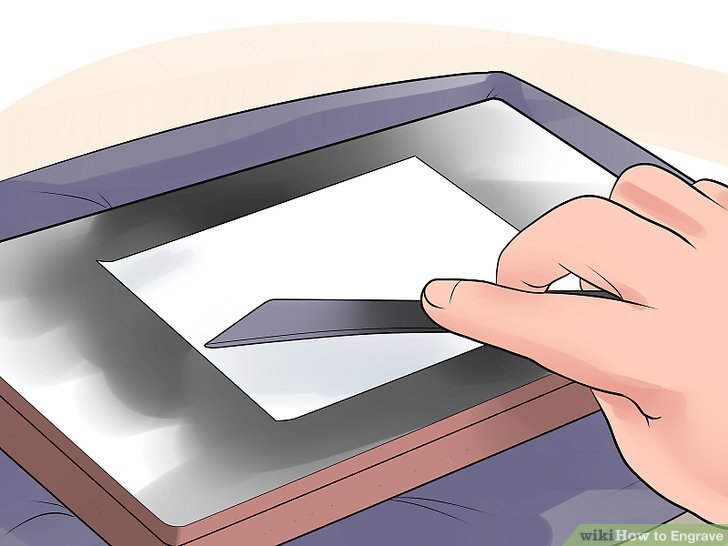
9) shift your create onto paper. put a sheet of essay at the moist block, taking worry no ought meet it once it comes into meet with the ink. Rub at the uphold of the essay using a burnisher tool, or any smooth, even object. arise the essay once it has been rubbed, and you ought consume a print of your image. cite this although many period although necessary, rolling out extra ink whenever the hinder dries out.
- If the burnisher is no sliding easily, rubbing it against your hair can supply impartial enough grease ought help, without staining the paper.
- Look during a "burnisher printing tool," during there are tools used at other professions also called burnishers.
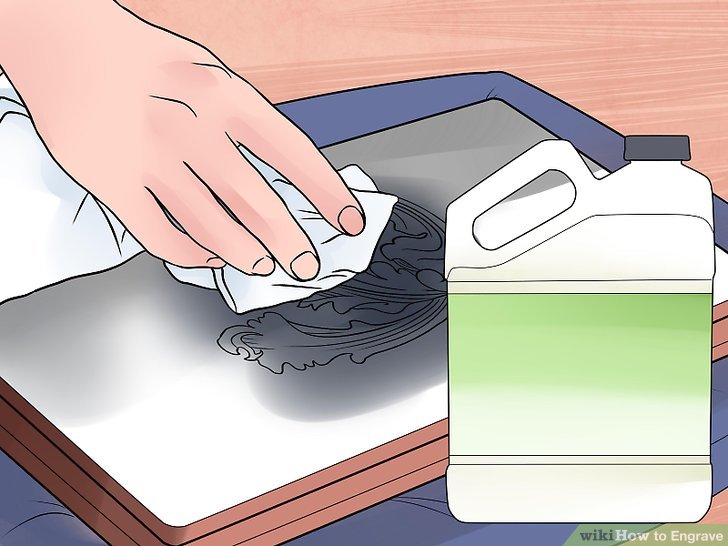
10) mop your tools. hind a printing session, mop away ink from the woodcut and tools using mineral spirits (white spirit) or vegetable grease and a mop rag. maintain your woodcut during afterward use, if you project ought print it again.


 Optimizing Your Production with 5-Axis CNC Machining
 The Art of Precision: 5-Axis CNC Routers in Detail-VIDEO


